
For as long as there have been clothes, they have needed mending. It is simply a fact of life that, if you wear something lots, it will eventually need some kind of repair.
Unfortunately, in this age of fast fashion, it is becoming less and less normal for one to wear clothes for long enough that they even need mending, yet alone for one to actually go and mend them. I like to think that this is largely due to ignorance, rather than laziness, and so in the name of educating the masses on the lost art of mending, I would like to impart some basic knowledge on fixing clothes.
As I see it, the two most basic methods of mending clothing are patching and darning:
Patching:
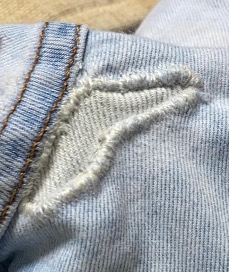
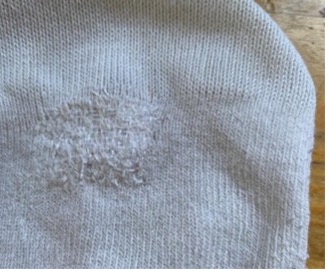
Patching is perhaps the simplest form of mending clothes. One simply covers the hole with another piece of fabric then stiches it in place. For best results, try and make the patch fabric as similar as possible to the original one. Also, stich the patch on the inside of the garment, and use tiny hand stiches in a circular motion to cover the torn edge of the garment you are mending. I find patching a very soothing, mindless task, however, it does require you to keep your eyes on your needlework very carefully, so you may find it hard to do while watching TV or engaging in some other form of entertainment. It is very hard to make patching look invisible on the garment, but I am personally a big advocate of visible mending: it demonstrates the care and love you have for your clothes.
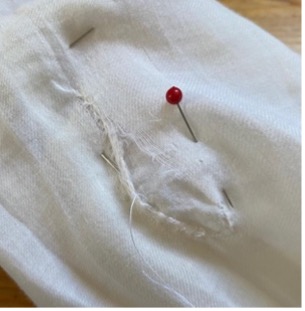
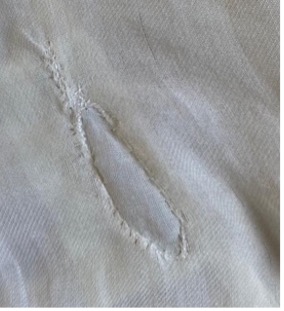
Note how similar the patch fabric is to the original – I used a chunk of the blouse’s lining the achieve this.
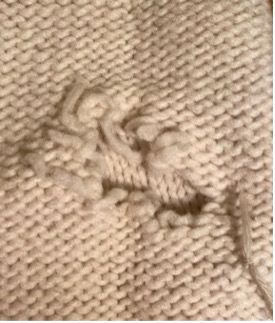
Darning:
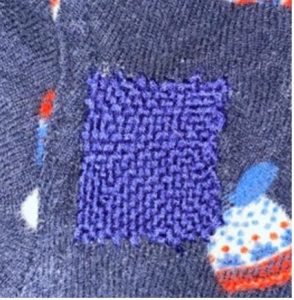
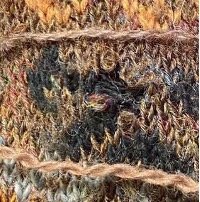
The Ancient and Grandmotherly art of darning can best be described as the process of effectively re-weaving the fabric of a garment to cover a hole. Although it requires working on a very small scale and thus can be a little fiddly, you do get into the rhythm of it quite quickly and can pop on a podcast or film to keep you company while you work. The basic premise of darning is similar to weaving: first, stitch rows of thread/yarn across the hole vertically, as close together as possible (this is called the ‘warp’). Then, start stitching lengthways, ‘weaving’ the needle through the vertical threads through the ‘warp’ you just created, forming the ‘weft’ of the fabric. Depending on the thickness of your thread and the tightness of your rows, you may also need to repeat this process diagonally to cover any remaining gaps between the warp and weft.
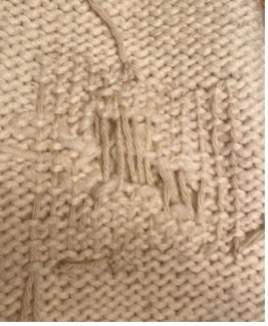
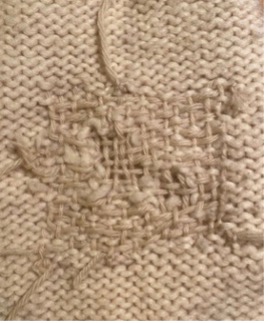
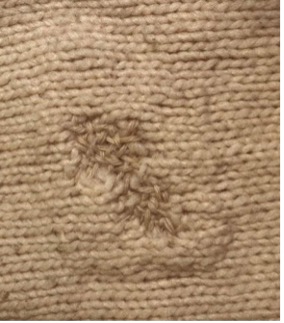
If done correctly, this should cover the entire hole in new ‘fabric’, mending the garment and protecting it from future wear. When done carefully enough and with a similar colour to the original garment, darning can be nearly invisible!
When to use which?
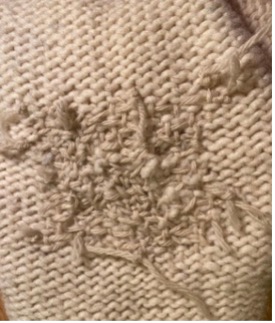
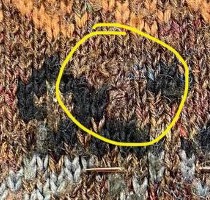
Typically, darning is used for knitwear, as it allows one to pick up any moth-eaten loose ends and stich them into the darn as you go, preventing the whole thing from unravelling. Patching can only really be done on tight-weave fabric (a.k.a, anything that isn’t knitted or crocheted), but fine darning can also be applied on these sorts of garments. For example, I usually use darning to mend holes in socks or tights, as it allows the fabric to stretch more, ensuring that stretchy, skin-tight garments still fit after mending.
Final tips?
If I could impart one piece of mending advice to you, it would be this: mend your clothes before they break. If something starts to show wear – e.g. you can feel the fabric thinning or see something begin to fray – darn or patch it there and then; it will save you three times the work down the line, I promise. Preventing something from breaking in the first place is always easier than mending it. Quite literally, a stich in time saves nine.