Following on from my recent article on mending clothes, I thought I should write a follow-up guide on another facet of wearing and caring for your clothes: altering. Too many times have I seen people avoid wearing clothes they bought for themselves because they don’t quite fit right, or they’ll send them off to the tailor’s for incredibly simple alterations that could easily be done at home.
In this article, I’m going to cover two of the most common and simple alterations for everyday clothes: taking something in at the waist and taking something up at the hem. Both techniques make clothes smaller, not larger, as it is generally much easier to take fabric away from a garment rather than attempt to add more. While a sewing machine will speed alterations up, they can be done just as successfully and securely by hand, and one has more control when hand-sewing anyway.
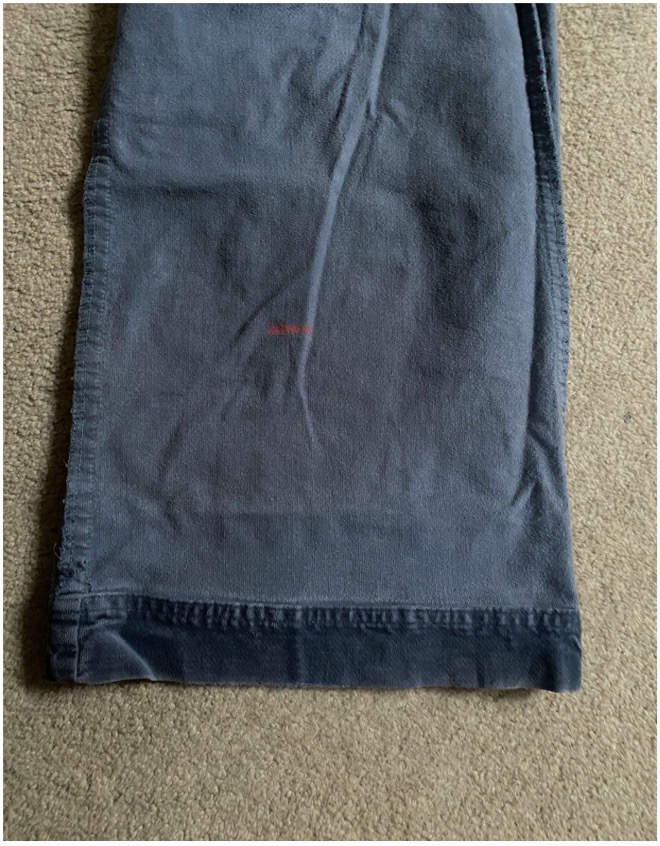
Raising a hem:
Taking up a hem is an extremely straightforward and simple alteration used to make something shorter, though oddly it is the one I most often get asked to do for people. To raise a hem:
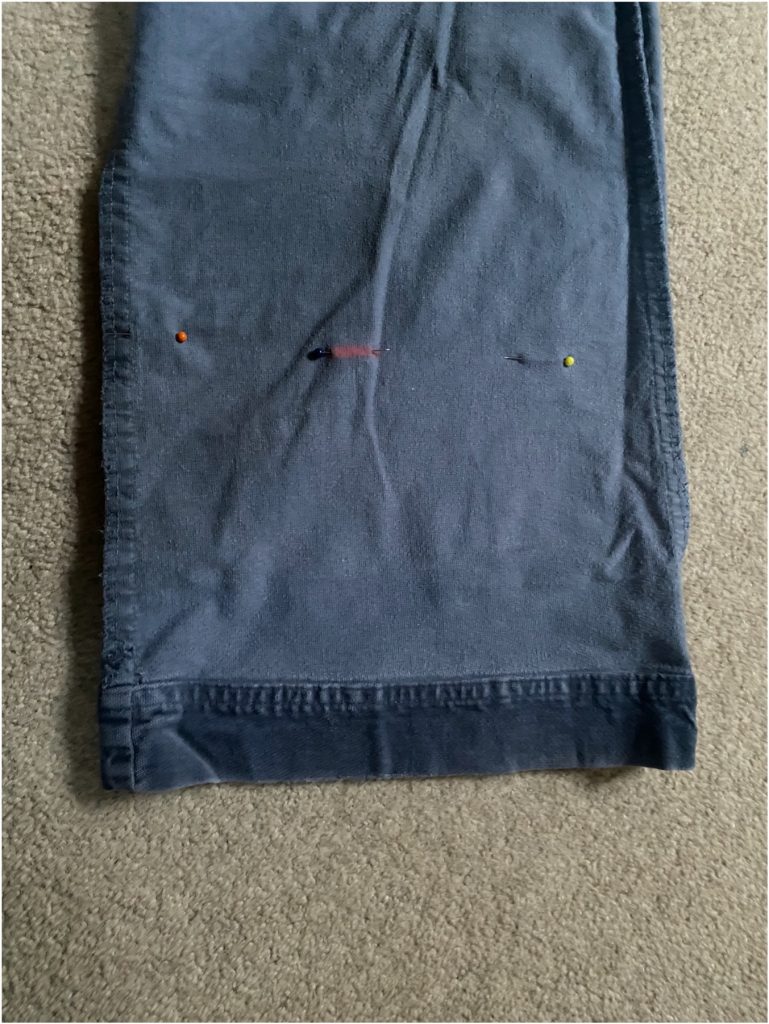
- Put on your garment inside out and mark where you how short you want it to be
- Mark that same height all the way along the existing hem.
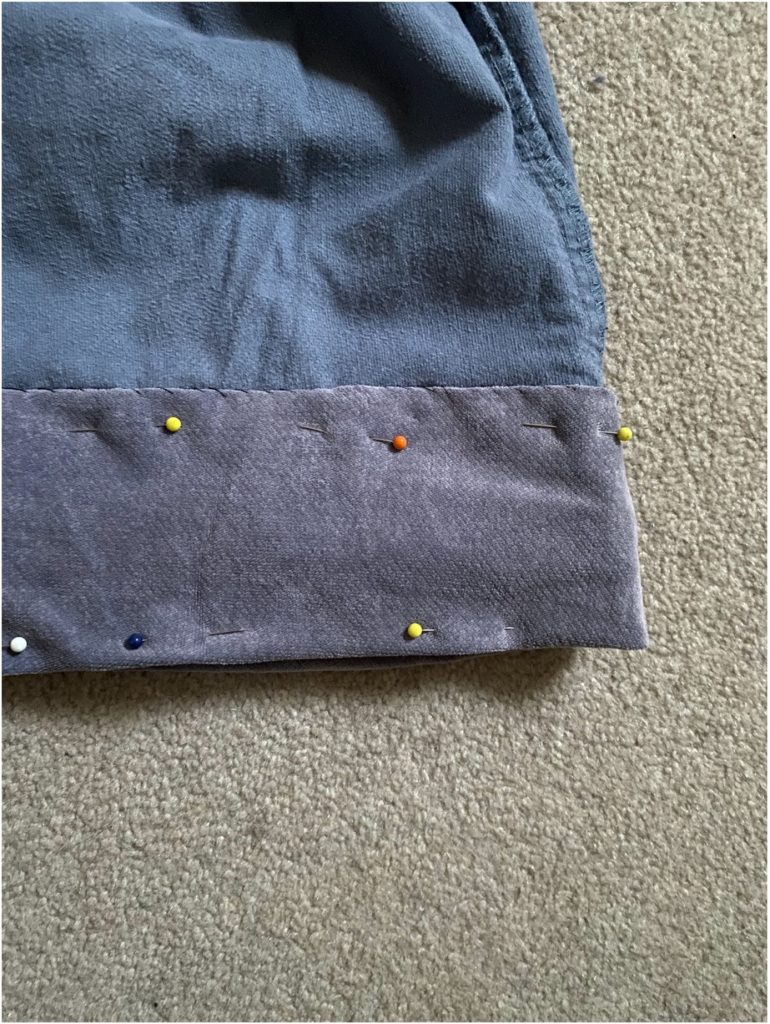
- Then, fold/roll the fabric up until it is at your desired length, and pin.
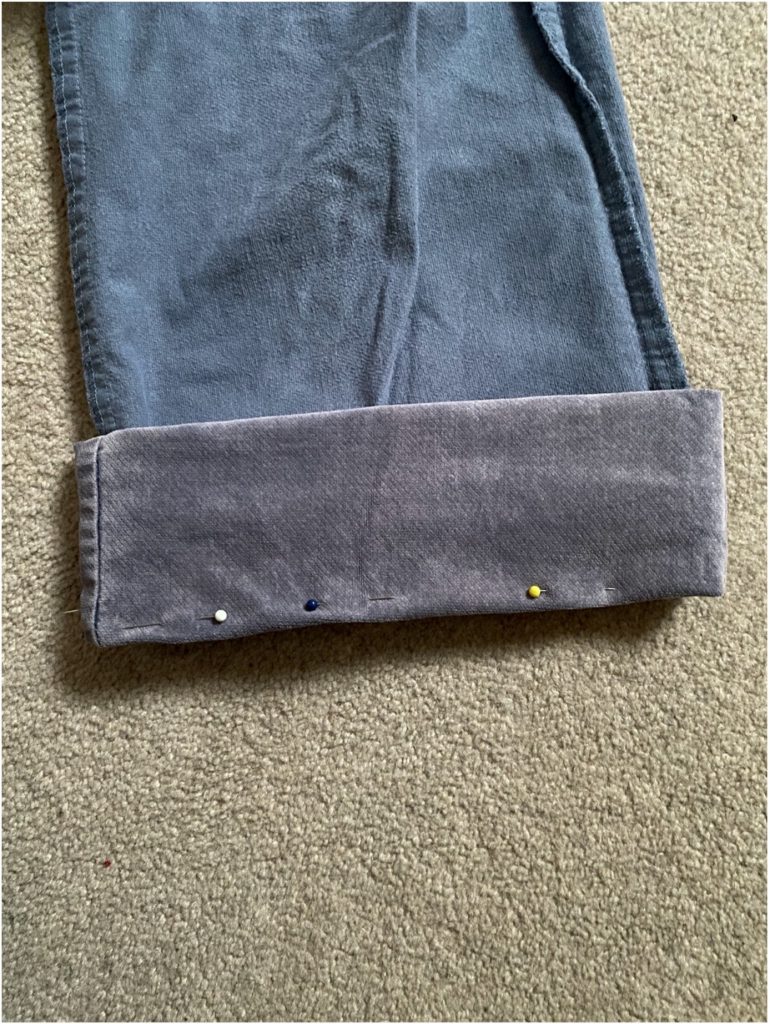
- Using a tiny whipstitch, stitch the tip of your rolled edge down, trying to catch as little of the outside fabric as possible. If done carefully enough, this should make your stitching practically invisible from the right-side
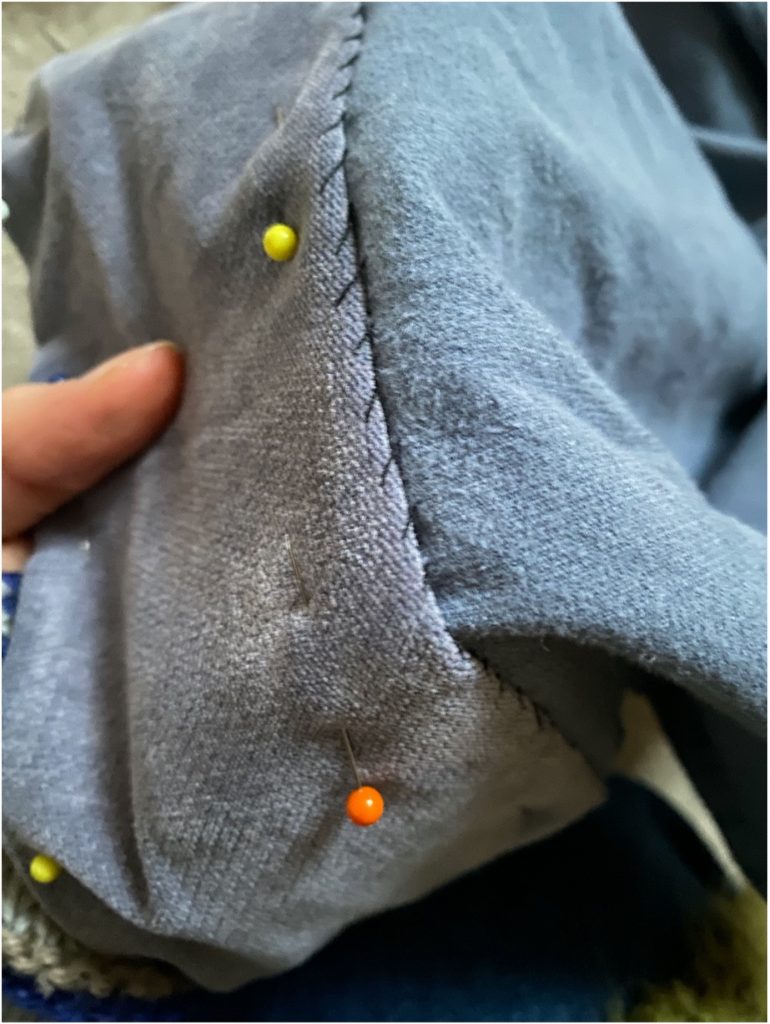
- Turn your garment right side around, you’re done!
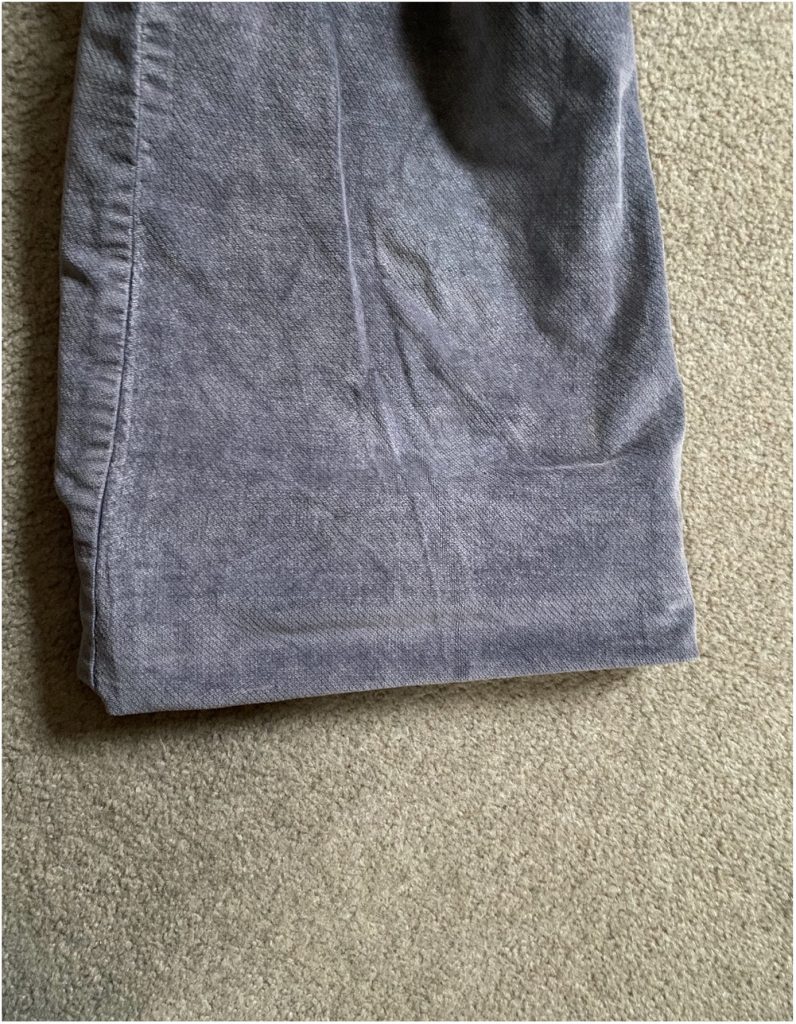
NOTE: If you’re shortening something significantly, it may be wiser to actually cut off the bottom of your garment an inch or so below your desired length, so that you’re not trying to hem half a leg’s worth of fabric… I try to avoid cutting clothes wherever possible when altering so that I can undo any changes I’ve made, just in case they need adjusting in the future!
Taking something in at the waist:
If I had a pound for every TikTok I’ve seen showing increasingly creative and inconvenient methods of tightening a dress/top/skirt/pair of trousers at the waist, I would have enough money to buy an entirely new garment that doesn’t even need altering. Hair-ties, safety pins, shoelaces, bangles – it would seem that there is literally no length that people won’t go to to avoid cracking out a needle and thread. However inventive and effective these quick fixes may seem, I promise that spending twenty minutes getting the job done right will save you time in the long run. In the philosophy of my father (engineer, household handyman and general fixer-of-broken-things): if you’re going to botch the job, you may as well not do it at all.
The simplest of making something smaller at the waist is by sewing in new side seams, further in than the original ones.
- Put on your garment inside out and mark where you’d like the waist to come in to (chalk, pins, or even just pencil should work for this).
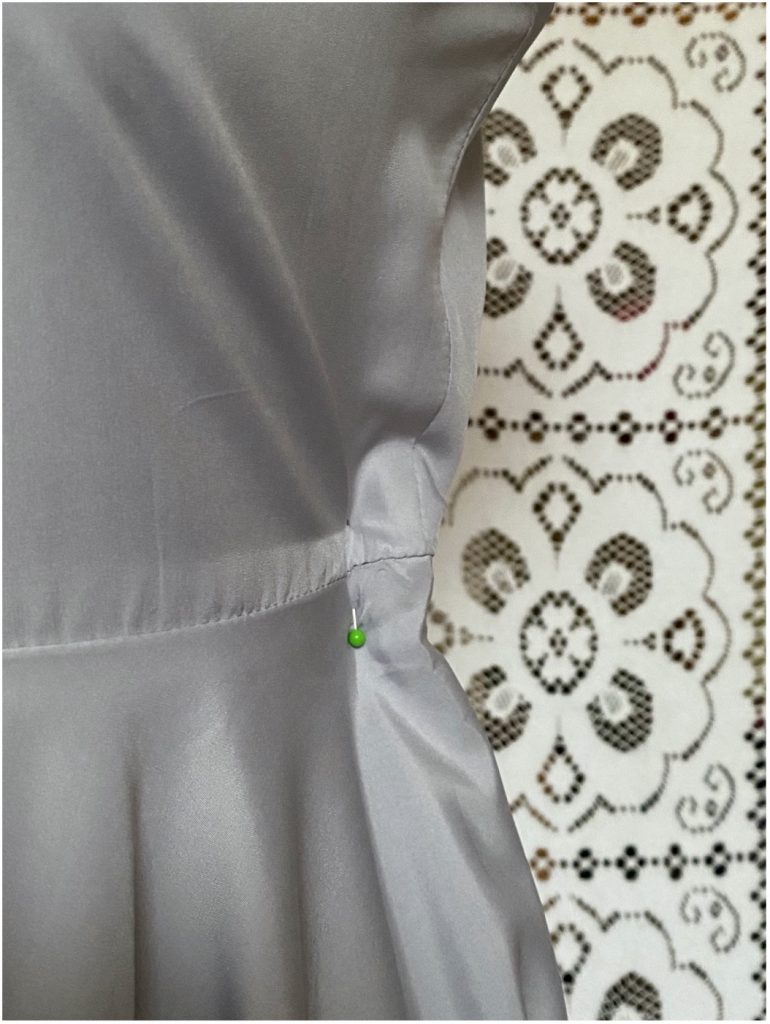
- Using this mark, draw a curve from the original side seam up to your mark and then back again. This line will become your new side seam.

- Sew along the line using a simple back stitch, starting and ending along the original side seam (at this point, you can trim away the excess fabric, but I usually just leave it as it doesn’t tend to affect the overall shape too much and it saves me from having to finish any raw edges.)
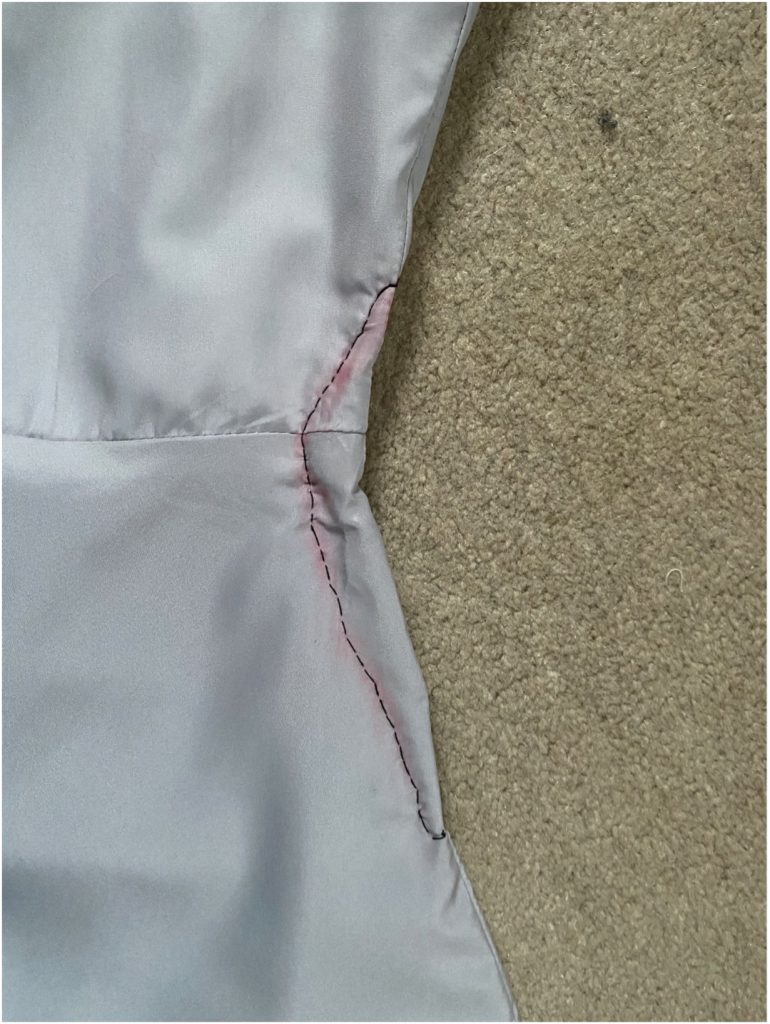
- Turn your everything right-side out again and enjoy your newly altered garment!